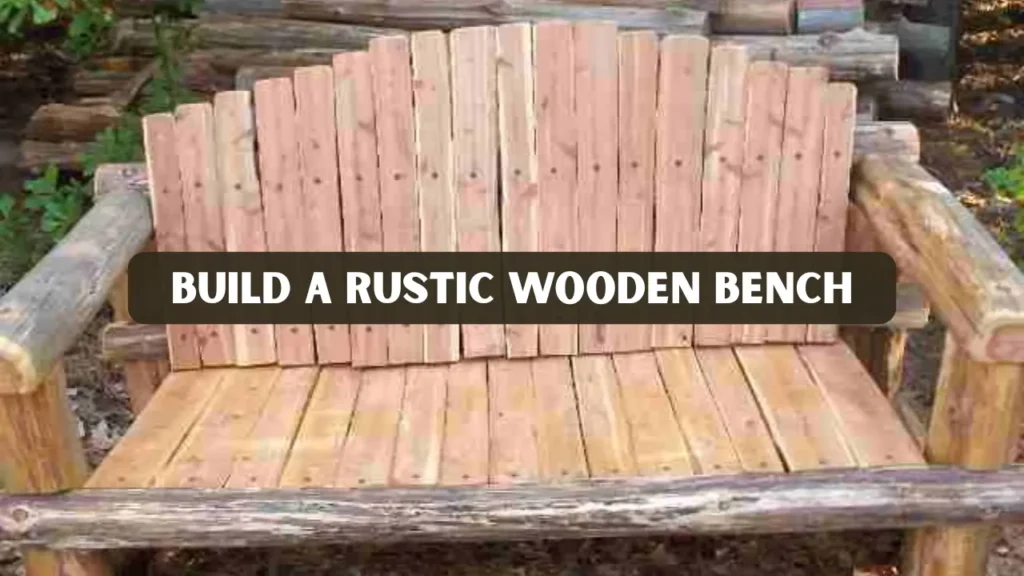
A rustic wooden bench combines both functionality and charm, bringing warmth and character to any room, porch, or garden. Its timeless design makes it a versatile addition to indoor and outdoor spaces, providing practical seating while enhancing the overall aesthetic.
Key Takeaways
- A rustic wooden bench is a practical and decorative woodworking project suitable for indoor and outdoor spaces.
- Choosing the right lumber, joinery, and finish ensures durability and aesthetic appeal.
- Simple construction techniques allow beginners to create a beautiful bench in a weekend.
- Proper finishing and maintenance enhance longevity and bring out the rustic character of the wood.
- Variations include farmhouse, industrial, and storage bench styles that adapt to different spaces and uses.
Why Choose a Rustic Wooden Bench?
- Custom Fit: You can tailor the length, height, and width of the bench to perfectly suit your space.
- Cost-Effective: Using reclaimed or affordable lumber allows you to create a high-value piece without overspending.
- Quick Build: A simple rustic wooden bench can often be completed over a single weekend.
- Versatility: This bench works well in entryways, living rooms, patios, or gardens.
- Aesthetic Appeal: The natural wood grain and rustic finishes add charm and character to any setting.
Building your own bench allows full control over design, material selection, and finish.
Materials for a Rustic Bench
Selecting appropriate materials is critical for both appearance and durability.
Wood Selection:
- Indoor Benches: Hardwoods like oak, maple, birch, or cherry provide stability, rich grain, and a smooth finish.
- Outdoor Benches: Cedar, redwood, or pressure-treated pine are rot-resistant. Reclaimed barn wood is ideal for authentic rustic texture.
- Fasteners and Glue: Use exterior-grade wood glue for outdoor benches and stainless or galvanized screws to prevent rust.
- Finish Options:
-
-
Outdoor: Decking oil or spar varnish protects from weather exposure.
-
Indoor: Tung oil, Danish oil, or satin polyurethane enhances grain and preserves natural color.
-
Shopping Checklist:
- Lumber according to plan dimensions
- Screws (stainless or galvanized)
- Wood glue
- Sandpaper (80, 120, 220 grit)
- Finishing oil or varnish
- Wood filler for imperfections
Essential Tools
The tools required are basic but make the project much easier:
- Circular saw or miter saw for cutting
- Drill and countersink bits
- Pocket-hole jig (optional)
- Tape measure, pencil, speed square
- Clamps
- Orbital sander or sanding block
- Chisel set and mallet
Even with minimal tools, a sturdy bench can be built by focusing on accurate measuring and careful assembly.
Simple Rustic Bench Plan and Dimensions
Standard dimensions: 48 inches long, 18 inches high, 14 inches deep. Adjust for space requirements.
Cut List:
- Seat slats: 4 × 1×6 @ 48 inches or 1 × 1×12 @ 48 inches
- Front and back apron: 2 × 1×4 @ 42 inches
- Legs: 4 × 2×2 @ 18 inches or 2×3 for heavier look
- Stretchers: 2 × 1×3 @ 36 inches
- Optional angled supports: 2 × 1×3 cut at 15 degrees
Joinery:
- Butt joints reinforced with screws and glue
- Stretchers for additional leg support
- Countersink screws to prevent splitting
A straightforward frame with slats provides a stable and aesthetically rustic bench.
Step-by-Step Assembly
Step 1: Prepare Lumber
Cut all pieces to the required dimensions, flatten any uneven surfaces, and sand rough edges. Proper preparation ensures accurate assembly and a smooth final finish. Carefully checking each piece for defects or warping before assembly will help avoid issues later in the build.
Step 2: Assemble Legs
Attach the stretchers to the inner faces of the legs, making sure everything is square and aligned. Use clamps if needed to hold pieces in place while securing with screws or glue. Double-check measurements and alignment before fastening to ensure the bench remains level and stable.
Step 3: Build Frame
Connect the front and back aprons to the leg assemblies to form the basic bench frame. Reinforce with wood glue and screws for strength and stability. Ensure all corners are square and level to prevent wobbling and maintain a sturdy structure.
Step 4: Install Seat Slats
Lay the seat slats evenly across the frame. Leave small gaps for drainage if the bench is outdoors, or keep tight joints for indoor benches. Pre-drill holes and countersink screws to avoid splitting the wood.
Step 5: Add Optional Accents
Enhance comfort and style by chamfering edges or rounding corners. You can also add small decorative touches for a more rustic look. Additionally, lightly distressing the wood surface can create an authentic aged appearance that complements the bench’s rustic charm.
Step 6: Sand Thoroughly
Sand the entire bench progressively using 80, 120, and finally 220 grit sandpaper. This ensures a smooth surface, removing roughness while maintaining natural wood character. Take extra care on edges and corners to avoid sharp spots and enhance overall comfort.
Apply Finish
Apply two to three coats of your chosen oil or varnish, sanding lightly between coats for an even and durable finish. This step protects the wood and enhances its rustic appeal. Allow each coat to dry fully before applying the next to achieve a long-lasting, professional-quality finish.
This process ensures a durable, functional, and visually appealing rustic bench.
Design Variations
- Farmhouse Style: Use distressed paint and carved details on aprons or legs to create a cozy, vintage look.
- Industrial Style: Combine reclaimed wood with metal hairpin legs for a modern-rustic appearance that blends wood and metal textures.
- Storage Bench: Incorporate a hinged seat with interior space to store shoes, blankets, or garden tools, adding both functionality and charm.
- Backed Bench: Add a simple backrest for enhanced comfort, making it ideal for porch or entryway seating.
These variations demonstrate the versatility of the basic frame while enhancing usability.
Cost Estimates
- Budget Build: $40–$120 using reclaimed wood or pine with simple finishing, ideal for cost-conscious DIY projects.
- Mid-Range Build: $150–$350 using hardwoods and higher-quality finishes, offering better durability and aesthetic appeal.
- Time Commitment: 6–12 hours for beginners; a weekend for intermediate woodworkers, depending on complexity and finishing techniques.
Budget and material choice influence the final appearance and durability of your bench.
Finishing Techniques
Proper finishing is key to maintaining the rustic character and longevity of your bench:
Correct finishing transforms raw lumber into a long-lasting and visually appealing wooden bench.
Sustainability Considerations
Sustainable practices ensure your woodworking projects are environmentally responsible.
Real-World Example
A typical project involves building a 5-foot entryway bench using reclaimed oak. Key techniques that improve quality include:
This example demonstrates how careful material selection, accurate joinery, and finishing elevate the bench.
Common Mistakes to Avoid
- Skipping Pre-Drilling: Can cause boards to split near the ends, compromising stability.
- Using Untreated Lumber Outdoors: Leads to rot, decay, and a shorter lifespan for the bench.
- Over-Sanding Reclaimed Wood: Removes the natural rustic character; sand only until smooth.
- Ignoring Reinforcement: Stretchers and braces are essential to maintain long-term stability and prevent wobbling.
Following these tips ensures your project is both sturdy and long-lasting.
Conclusion
A rustic wooden bench is an ideal woodworking project that combines practicality, durability, and aesthetic charm. By carefully selecting materials, following proper construction techniques, and applying a quality finish, you can create a bench suitable for both indoor and outdoor spaces. Simple design adjustments allow customization for farmhouse, industrial, storage, or backed bench styles.
With thoughtful planning, accurate measuring, and proper finishing, your bench will become a long-lasting, functional, and visually appealing addition to any home or garden.
Frequently Asked Questions
How long does it take to build a rustic wooden bench?
Most beginner projects take 6–12 hours. Time depends on preparation, joinery style, and finishing steps.
What wood is best for outdoor benches?
Cedar, redwood, or pressure-treated pine are ideal for outdoor use. Hardwood with exterior finish is also durable.
Can pallet wood be used?
Yes, if boards are clean, free from rot, nails, and chemical treatments.
Are advanced tools necessary?
No, a circular saw, drill, clamps, and sander are sufficient for a simple frame plus slat design.
How can the seat be made comfortable?
Round or chamfer edges, sand smooth, and optionally add a cushion or subtle ergonomic curve.


