Key Takeaways
- Building a garden gate enhances your property’s curb appeal and provides functional access.
- Accurate measurements and quality materials are crucial for a durable gate.
- Step-by-step construction ensures a secure and aesthetically pleasing result when you build a garden gate.
- Proper finishing and maintenance extend the gate’s lifespan
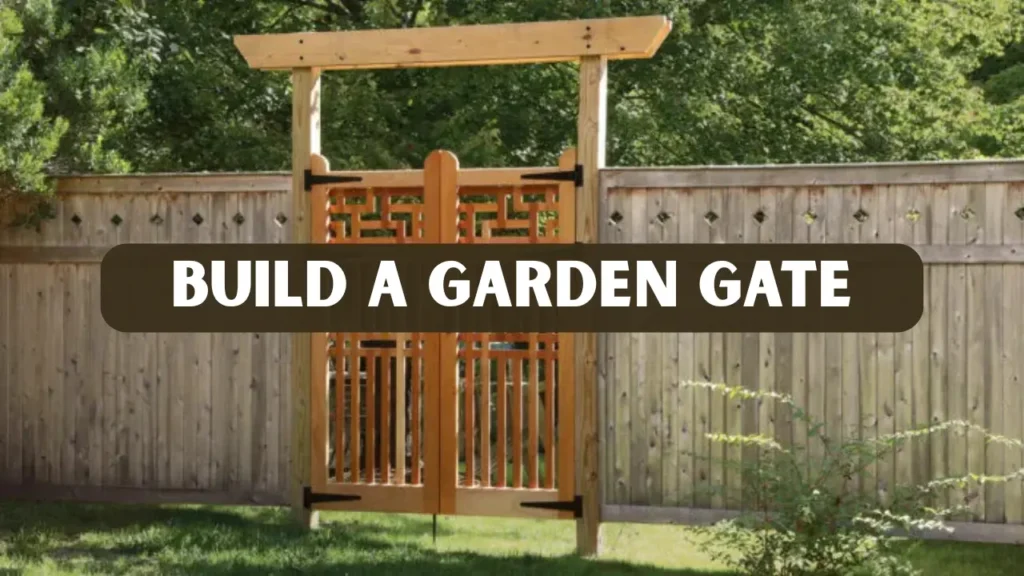
Why You Should Build a Garden Gate Yourself
Embarking on the journey to build a garden gate not only boosts your home’s exterior but also provides a rewarding sense of accomplishment. Creating your own gate allows you to personalize your garden entrance and add a unique touch to your outdoor space. A well-built gate also enhances security and functionality, making everyday access easier. By following a proper plan, you can ensure a sturdy and long-lasting structure.
Whether you’re aiming for a rustic wooden gate or a sleek modern design, this guide provides detailed instructions to help you construct a gate that suits your style. Careful measurement and selecting the right materials are essential for a strong, durable structure. Following step-by-step construction tips will help prevent mistakes and ensure smooth operation. With proper finishing touches, your gate can stay attractive and last for many years.
Materials and Tools Required
Before commencing, gather the necessary materials and tools to ensure a smooth construction process.
Materials:
- Pressure-treated wood (cedar, redwood, or pine)
- Wood screws and nails
- Heavy-duty hinges
- Latch or lock (optional)
- Exterior-grade wood glue
- Paint or wood stain
Tools:
- Circular saw or handsaw
- Drill and drill bits
- Measuring tape and carpenter’s square
- Clamps
- Sandpaper or electric sander
- Pencil and level
Planning Your Garden Gate
Proper planning is essential for a gate that fits perfectly and operates smoothly.
Measure Your Opening
- Measure the width and height of the garden entrance.
- Leave a small gap at the bottom for swinging clearance.
Choose a Style
- Single or double swing
- Straight or arched top
- Decorative panels or lattice design
Create a Blueprint
- Draw a simple sketch labeling all wood pieces and hardware placements.
- Include frame, panels, and braces
Consider Weather and Environment
- Wood expands or contracts in different climates.
- Ensure hinges and hardware are suitable for outdoor use.
Planning properly reduces mistakes and ensures long-lasting functionality.
Step by Step Construction Guide
Follow these steps to assemble a sturdy garden gate.
Step 1: Cut Wood Pieces
Cut the vertical and horizontal frame pieces to the exact dimensions needed. Prepare the cross braces to prevent sagging and ensure structural stability.
Step 2: Assemble the Frame
Lay out the frame pieces and secure all joints with wood glue and screws. Use a carpenter’s square to ensure the frame is properly aligned.
Step 3: Add Cross Braces or Panels
Install diagonal cross braces to provide extra structural support. Then add panels, slats, or lattice according to your desired design.
Step 4: Sand and Smooth Surfaces
Sand all edges carefully to prevent splinters and rough spots. Smooth the surfaces to ensure a clean, even paint or stain finish.
Step 5: Attach Hinges and Hardware
Install heavy-duty hinges and mount a latch or lock if needed. Test the gate swing to ensure proper alignment and smooth operation.
Step 6: Install the Gate
Attach the gate to the garden posts carefully and use a level to check vertical and horizontal alignment. Adjust the hinges as needed to ensure smooth swinging and proper operation.
Pro Tip: Pre-drill holes for screws to prevent splitting.
Finishing Touches for Longevity
Protect your gate and enhance aesthetics with proper finishing.
- Staining or Painting: Apply exterior-grade stain or paint to protect wood from moisture and UV damage.
- Sealing: Use weatherproof sealant for extra protection against water and weather damage.
- Decorative Hardware: Handles, caps, or ornamental trims can enhance the gate’s style and appearance.
Regular maintenance: Inspect hinges yearly and reapply stain or sealant every 2–3 years.
Common Mistakes to Avoid
- Skipping accurate measurements can ruin the gate’s fit. It often causes alignment problems and uneven gaps.
- Using softwood may warp over time outdoors. This reduces the gate’s durability and lifespan.
- Incorrect hinge placement causes the gate to sag. It makes swinging difficult and can damage hardware.
- Neglecting finishing exposes wood to weather damage. This leads to early deterioration and unsightly appearance.
Optional Enhancements for Your Garden Gate
- Adding a trellis lets climbing plants grow beautifully. It also creates privacy and a natural garden screen.
- Decorative cutouts make your gate unique and attractive. They allow airflow while maintaining strength and security.
- A self-closing latch keeps the gate securely closed. It provides convenience and prevents pets from escaping.
Enhancements increase functionality and visual appeal.
Case Study A Backyard Transformation with a DIY Garden Gate
Sarah, a DIY enthusiast from Atlanta, Georgia, decided to build a garden gate for her backyard to complement her flower garden and keep her dog safe. She used cedar wood, stainless steel hinges, exterior-grade stain, and a metal latch, along with essential tools like a saw, drill, and sander. After measuring, cutting, assembling with glue and screws, and adding a diagonal brace, she sanded and stained the gate before installing the hardware. The finished gate swings smoothly, resists warping, and demonstrates how proper planning and quality materials create a durable, attractive DIY project.
Conclusion
Learning to build a garden gate is a rewarding project that combines practical skills with creative expression. From selecting the right wood and tools to carefully assembling the frame and applying protective finishes, every step contributes to a durable, attractive, and functional gate. Proper planning, quality materials, and attention to detail ensure your DIY gate not only enhances your garden’s beauty but also provides long-term value.
By following this comprehensive guide and taking cues from real-world examples, you can confidently create a garden gate that meets your needs and stands the test of time. Start your project today and enjoy the satisfaction of a handmade garden feature that reflects your personal style.
FAQs
What type of wood is best for a garden gate?
Cedar and redwood are naturally rot-resistant. Pressure-treated pine is durable and budget-friendly.
Can I build a gate without using any power tools?
Yes, but manual tools may take longer. Power tools provide precise cuts and faster assembly.
How long does it take to build a garden gate?
Most DIYers can complete a standard gate in 1–2 weekends, depending on design complexity.
How can I prevent sagging in a wooden gate?
Use diagonal cross braces, heavy-duty hinges, and proper frame assembly.
Can I customize the design of my garden gate?
Absolutely! You can choose the style, finish, and decorative elements to suit your garden.


