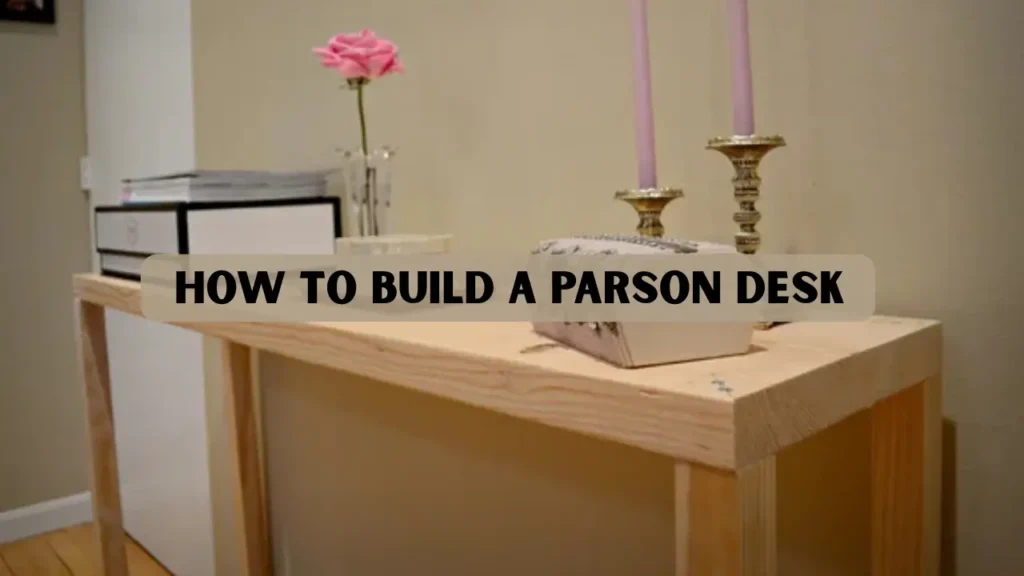
Minimalist furniture continues to grow in popularity because it blends into different rooms while still enhancing the space. The parson desk style you are about to build is known for its straight lines, simple proportions, square legs, and uninterrupted top surface. It is visually light yet physically strong. Woodworkers appreciate this project because it is achievable for beginners and satisfying for experts.
This guide provides every detail you need. The goal is not only to help you complete a beautiful desk but also to give you enough woodworking understanding to tackle future furniture projects on your own.
Key Takeaways
- This guide teaches you how to build a parson desk with clean geometry and a unified silhouette that fits well in any home or office.
- You will learn step by step how to choose materials, plan measurements, prepare cuts, assemble the frame, attach the top, and finish the surface with professional results.
- This project is suitable for beginners and intermediate woodworkers who want a practical build without complicated joinery.
- The instructions follow woodworking best practices to ensure structural strength, long lasting performance, and visual balance.
Understanding the Parson Desk Design
A parson desk is known for its unity of shape and clean straight legs that meet the tabletop with almost no visual interruption. Its origin traces back to simple rectangular tables with flush legs and balanced lines. It is loved for its minimal aesthetic and versatility.
Features that define this desk style
- Legs that are equal thickness from top to bottom
- A top that meets the legs cleanly without visual overhang
- A small apron for structural support
- Straight edges without decorative moldings
- The ability to adapt to different wood types and colors
Why it makes a great woodworking project
- Easy to design and measure
- Requires only basic tools
- Works with many joinery techniques
- Strong enough for daily use as a writing or computer desk
- Customizable for home offices, bedrooms, or living rooms
Planning the Build: Measurements and Space Requirements
Before cutting any material, spend time planning. A well considered plan prevents mistakes and leads to a more satisfying final result.
Standard dimensions
- Height: 29 to 30 inches
- Width: 30 to 48 inches depending on workspace
- Depth: 18 to 24 inches
- Leg thickness: 1.5 to 2 inches
Space considerations
Think about where your desk will be placed. Ensure there is enough room for a chair to slide underneath, and enough top space for laptops and accessories. If you need storage, consider adding a shallow drawer or shelf later in the build.
Body keyword usage example
This project is especially suitable for woodworkers who want to build a compact workstation with clean lines similar to a desk.
Tools and Materials Required
You do not need advanced machines to complete this project. The tools listed below are accessible to beginners and even more effective in the hands of experienced makers.
Tools
- Circular saw or table saw
- Miter saw for accurate crosscuts
- Drill with bits and countersink
- Clamps
- Orbital sander
- Measuring tape and square
- Chisels for joinery (if using traditional methods)
- Pocket hole jig (optional)
Materials
- Hardwood or high quality plywood for the top
- Solid wood for the legs
- Apron boards
- Wood screws
- Wood glue
- Sandpaper (120, 180, 220 grit)
- Protective finish such as polyurethane or tung oil
Take your time choosing materials because they directly influence durability, appearance, and the feel of the desk. Beginners often start with pine because it is affordable, while intermediate users prefer maple or oak for professional quality results.
Creating the Cut List
A clear cut list keeps your project organized and reduces the chance of cutting errors. Below is a sample list for a desk that fits most small home offices.
- Tabletop: 30 inches by 18 inches
- Legs: Four pieces, 29 inches long
- Front apron: 26 inches by 3 inches
- Back apron: 26 inches by 3 inches
- Side aprons: Two pieces, 15 inches by 3 inches
- Optional stretcher: 26 inches
Adjust these measurements based on your preferred desk width and height. If you are building this in a workshop with other people, label each piece as soon as it is cut to avoid confusion.
Joinery Choices for a Strong Build
Joinery is the heart of woodworking. Even a simple desk benefits from strong structural decisions. Choose one of the methods below depending on your skill level.
- Pocket hole joinery: This is one of the fastest methods. It uses a jig to create angled holes that hide screws inside the apron boards. This method works well for beginners and provides a clean result.
- Mortise and tenon: This traditional joinery is stronger and visually refined. It takes more time but creates a long lasting connection between the legs and apron. Intermediate woodworkers enjoy practicing this method to improve precision.
- Metal brackets under the apron: A beginner friendly method for quick assembly. These brackets provide extra reinforcement but are less visually refined. They are hidden under the table and do not affect overall appearance.
Step by Step Guide
The following step by step instructions will help you complete the project in a logical and efficient manner. Each step builds on the previous one to help you avoid unnecessary rework.
Step 1: Prepare your materials
Lay out all tools, boards, and hardware. Inspect lumber for warping or cracks. Use your square to check for straight edges. Preparing well saves hours later.
Step 2: Cut the legs and aprons
Use a miter saw or handsaw to cut legs to exact length. Then cut the aprons. Accuracy in this stage ensures a balanced frame and a smooth fitting top.
Step 3: Mark and drill joinery
If using pocket holes, drill them into the inner face of each apron. If using traditional joints, mark tenons and mortises with a marking gauge and cut them slowly. Test fit before moving to glue.
Step 4: Assemble the frame
Attach the aprons to the legs. Check for square alignment using a measuring square. Clamp the joints and allow glue to set. A sturdy frame ensures that the desk remains stable for years.
Step 5: Attach the top
Your top can be fastened with screws through the aprons. To allow seasonal movement in solid wood, consider using figure eight fasteners or slotted holes. Proper attachment prevents cracking and warping.
Step 6: Sand the entire desk
Sand all surfaces starting with 120 grit and finishing with 220 grit. The smoother the surface, the better your finish will adhere and the more professional the desk will look.
Step 7: Apply a finish
Choose a finish depending on your preferred appearance. Polyurethane provides durability for daily use. Tung oil offers a warm natural look. Apply multiple thin coats for best results.
Design Enhancements and Personalized Options
Once you master the basic structure, you can personalize your desk with additional features.
- Add a drawer: A slim drawer is excellent for storing pens, notebooks, or small items. Use metal slides or wooden runners depending on your comfort level.
- Add tapered legs: Tapered legs give a more elegant modern profile. Remove material using a table saw or hand plane to create a gradual reduction toward the bottom.
- Add a shelf: A shelf added to the lower section of the frame increases storage and stability.
Surface Finishing Tips for a Professional Look
Finishing determines the final appearance and touch of your desk. Many woodworkers consider finishing an art because small details significantly impact the look.
- Use grain filler for open grain woods: Oak, ash, and walnut benefit from grain filler for a glass smooth surface.
- Test stain on scrap: Wood species react differently to stains. Always test first.
- Apply thin coats: Thin coats dry faster and finish more evenly than thick layers.
- Sand lightly between coats: Use 320 grit between coats for a smooth final finish.
Cost, Time, and Skill Breakdown
The following estimates help you understand the level of commitment required.
- Material cost: 60 to 200 dollars depending on wood
- Tools: based on what you already own
- Time needed: 8 to 14 hours for most builders
- Skill level: beginner to intermediate
- Difficulty: moderate
- Project value: high due to versatility and long term use
Case Studies and Real Woodworker Experiences
- A new woodworker created this parson desk using pine legs and a birch plywood top. They used pocket holes for the joinery. Total cost was affordable, and the results exceeded expectations. The desk became the primary study space in a small bedroom.
- An intermediate woodworker crafted a wider version with walnut legs and a maple top. They used mortise and tenon joinery and applied a hand rubbed oil finish. The desk now serves as a dedicated workspace used daily for remote work.
Safety Tips for Every Stage
- Always wear eye protection
- Wear hearing protection around power tools
- Keep hands clear of cutting blades
- Secure material with clamps before cutting
- Work in a ventilated area when applying finishes
Conclusion
This parson desk project is ideal for beginners and satisfying for experienced makers. Its clean geometry and functional design make it suitable for small offices, bedrooms, creative studios, and multipurpose spaces. With the guidelines given above, you can build a strong, long lasting piece of furniture that reflects your craftsmanship and attention to detail. Take your time measuring, cutting, assembling, and finishing to achieve a desk that blends beauty and durability.
FAQs
How long does it take to build this desk?
Most builders finish within two to three sessions depending on joinery choice, drying time, and finishing steps.
Can I build this with basic tools only?
Yes. A circular saw, drill, clamps, and sander are enough for a solid result.
What wood is best?
Maple, oak, walnut, and birch plywood are excellent choices. Pine works well for beginners.
Can this desk support computer equipment?
Yes. The frame is strong enough to support monitors, laptops, and accessories.
Is it beginner friendly?
Absolutely. This project teaches essential woodworking skills in a manageable format.


