Key Takeaways
- A router table enhances precision, safety, and versatility in woodworking projects.
- Building your own router table allows customization for size, features, and workflow.
- Essential considerations include table stability, fence design, dust collection, and safety features.
- Using quality materials and following step-by-step instructions ensures a durable, long-lasting router table.
- This guide covers all aspects of how to build a router table, from tools and materials to assembly, finishing, and FAQs.
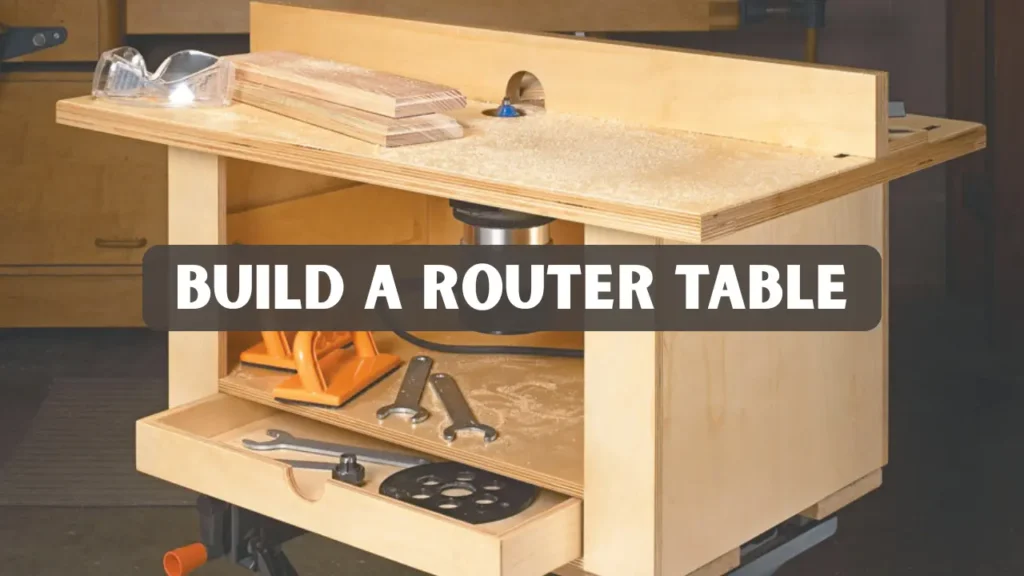
Why Build a Router Table?
For every DIY woodworking enthusiast, a router table is a must-have workshop upgrade. Unlike handheld routers, a router table provides stability, precision, and control, making tasks like edge profiling, joinery, and trimming much easier. Pre-made router tables are available, but they often lack the flexibility needed for personalized projects. Building your own router table allows you to tailor the size, features, and storage to fit your specific workshop needs.
Learning to build a router table is a rewarding project that improves your woodworking skills and confidence. It enables you to create a tool that perfectly suits your workflow and project requirements. With careful planning and quality materials, your custom table will be durable and reliable. This hands-on experience also adds a sense of accomplishment that ready-made tables cannot provide.
Materials and Tools Needed
Essential Materials
- Plywood or MDF for the tabletop and base
- Router plate/inset for mounting the router
- Fence materials (plywood, MDF, or solid wood)
- Brackets, screws, and bolts for assembly
- Wood glue for joints
- Casters (optional) for mobility
- Dust port or PVC pipe for dust collection
Tools Required
- Hand saw or circular saw
- Drill and screwdriver bits
- Measuring tape and square
- Clamps for secure assembly
- Sandpaper or power sander
- Level for ensuring a flat surface
- Router (handheld) to install in the table
Tip: Accurate measurements and secure clamping are essential for a stable and flat router table.
Step by Step Process
Step 1: Decide on Table Size and Type
Before building, determine whether you want a benchtop router table or a freestanding table.
- Benchtop Router Table: Compact and portable. Perfect for small workshops or limited spaces.
- Freestanding Router Table: Larger and more stable. Best for heavy-duty routing and joinery projects.
Considerations:
- Height should match your comfort level while standing.
- Ensure enough clearance for the router motor and bits.
- Factor in space for additional accessories like featherboards or a miter gauge.
Step 2: Build the Tabletop
- Cut the tabletop from a ¾-inch plywood or MDF sheet. Recommended size: 24” x 36”, but customize as needed.
- Sand the edges and surface to ensure smooth operation of stock material.
- Install the router plate/inset:
-
-
Cut a hole matching the router plate dimensions.
-
Secure the router plate flush with the tabletop for a smooth surface.
-
Verify the router bit height can be adjusted easily from underneath.
-
Tip: Test the tabletop for flatness using a level or straightedge before securing the router plate.
Step 3: Build the Base
- Cut base panels from plywood or MDF. The size depends on the tabletop and desired height.
- Assemble the frame using screws and wood glue. This adds strength and stability to the table when you build a router table.
- Attach legs or side panels. Make sure the table is square and stable.
- Optional: Add casters for mobility. Ensure they have locks to keep the table steady during use.
Step 4: Build and Install the Fence
The fence is critical for guiding your workpiece safely and accurately.
- Cut two fence panels: one fixed and one adjustable. The adjustable panel allows fine-tuning for different cuts.
- Attach the fixed fence perpendicular to the tabletop edge using screws or brackets. Make sure it is perfectly straight.
- Install the adjustable fence on sliding tracks or with clamps. This makes movement smooth and precise.
- Include a miter slot or auxiliary guides if your projects need angled cuts. These guides improve accuracy and repeatability.
Tip: A straight and stable fence ensures clean, accurate cuts and prevents workpiece kickback.
Step 5: Add Dust Collection and Safety Features
- Install a dust port aligned with the router bit area. Connect it to a shop vacuum or dust collector. This keeps your workspace clean and improves visibility.
- Add featherboards to hold stock against the fence or table. They prevent the workpiece from shifting. Cuts become safer and more accurate.
- Use push blocks or sticks for small pieces. Keep your hands away from the bit. It guides the material smoothly.
- Install a switch in an accessible location. This lets you power off quickly in emergencies. Safety is improved.
Safety Reminder: Always wear safety glasses and hearing protection when using your router table.
Step 6: Finishing and Testing
- Sand the entire table for smooth edges and surfaces.
- Seal or paint the tabletop to resist wear and humidity.
- Test the router height and fence alignment by making test cuts on scrap wood.
- Adjust any misalignments before using on valuable material.
Key Takeaway: Proper finishing and testing prevent damage to both your router table and workpieces.
Tips for Customization
- Add storage shelves or drawers below the tabletop for bits, wrenches, and templates. This keeps your tools organized and easily accessible, reducing time spent searching for accessories during projects.
- Install a router lift for easier height adjustments. A router lift allows precise control over bit height, making repeatable cuts faster and more accurate.
- Incorporate T-tracks in the table surface for jigs and featherboards. T-tracks provide flexibility for attaching various accessories, improving both safety and precision.
- Add adjustable feet for uneven workshop floors. Adjustable feet ensure the table remains level and stable, even on surfaces that are not perfectly flat, reducing vibrations while routing.
These customizations enhance usability and make your router table a versatile centerpiece, especially when you build a router table tailored to your workshop needs.
Case Study: Real-World DIY Router Table Builds
To show the practical impact of building a router table, here are two real-world examples from DIY woodworkers:
- Alex: Built a 24”x36” router table in his home workshop with an adjustable fence, dust port, and safety features; result: improved precision, smoother workflow, and greater confidence in complex woodworking projects.
- Sarah: Created a benchtop router table using MDF and plywood, adding storage shelves and a miter slot; outcome: safer cuts, increased efficiency, and easier small-scale joinery and trimming tasks.
These case studies demonstrate that a well-planned router table enhances precision, safety, and workflow, even in small or limited workshops, making it a valuable addition for any DIY woodworker.
Conclusion
Building a router table is a highly rewarding DIY woodworking project. Learning to build a router table not only improves the precision and safety of your work but also allows you to create a tool customized to fit your unique workflow. By following this step-by-step guide carefully, using quality materials, and prioritizing safety at every stage, you can construct a durable and reliable table. This investment in your workshop will serve you effectively for many years of woodworking projects.
Whether you are edge profiling, making joinery, or trimming panels, a well-built router table transforms your workshop efficiency and workflow. It allows for more accurate cuts, smoother finishes, and better control over complex projects. Additionally, it opens up new possibilities for creative woodworking tasks that would be difficult to achieve with a handheld router alone. Ultimately, a custom-built router table becomes the centerpiece of any functional and productive workshop.
FAQs
What type of wood is best for a router table?
For the tabletop, ¾-inch plywood or MDF provides excellent stability, while solid hardwood can be used for the fence to ensure durability and long-term wear resistance.
Can I use a handheld router in a router table?
Yes, most router tables are designed to accommodate handheld routers mounted upside down. It is important to ensure proper alignment and secure attachment to prevent wobbling during use.
How high should a router table be?
The ideal table height should be at waist or hip level, typically between 34 and 36 inches for most woodworkers. Height can be adjusted for comfort if the table is freestanding or portable.
How do I prevent tear-out while routing?
To prevent tear-out, always use sharp bits, feed the wood in the correct direction, and employ featherboards to hold the stock. Performing test cuts on scrap wood before working on final pieces can also reduce mistakes and material damage.
Is dust collection necessary for a router table?
While not strictly required, dust collection greatly improves safety, visibility, and cleanliness in the workshop. A vacuum attachment or shop dust collector is highly recommended for consistent performance and cleaner work.


