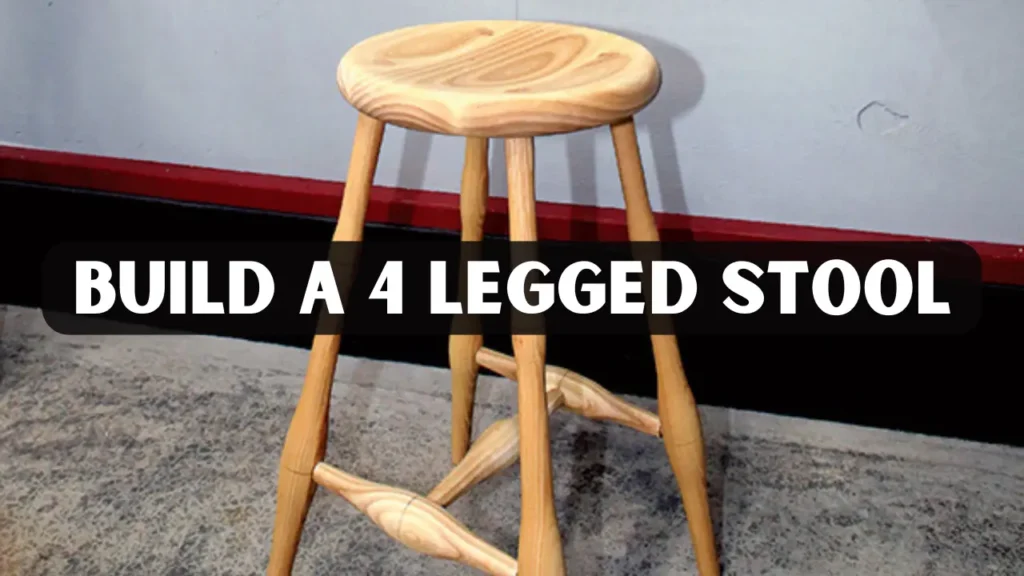
Building a 4 legged stool by hand is one of the most satisfying projects a woodworker can undertake. It blends practical functionality with creative expression, producing a piece of furniture that is not only useful but also a reflection of your skill and attention to detail. Whether you are a beginner or an experienced craftsperson, constructing a stool teaches valuable lessons in measuring, cutting, shaping, and finishing wood, and it allows you to create a durable piece that can last for decades.
This guide will walk you through each step of building a four legged stool, from choosing the right materials to applying the finishing touches. Along the way, we will explore practical tips, safety measures, and expert insights to ensure your stool is both aesthetically pleasing and structurally sound.
Why Building a 4 Legged Stool Is a Great DIY Project
Making your own 4 legged stool offers far more than a functional piece of furniture. The process helps develop essential woodworking skills while allowing you to personalize a piece of furniture to match your needs and style. Crafting a stool provides a sense of accomplishment that cannot be replicated by buying a ready-made item.
When you build a stool yourself, you have complete control over the design, including the dimensions, materials, and finish. This level of customization ensures that your stool perfectly complements the surrounding space, whether it is placed in a kitchen, workshop, or living area. Working on this project also improves your precision in measuring and cutting, which are foundational skills for more advanced woodworking projects. Additionally, the durability of a handmade stool is typically superior to that of mass-produced furniture because you oversee the quality of each component and joint.
Many woodworking experts suggest starting with a stool because it is simple enough for beginners but still incorporates techniques such as angled joinery and careful sanding. This makes it an ideal project for anyone looking to develop or refine their woodworking skills while creating a practical piece of furniture.
Tools and Materials You Will Need
Before starting construction, it is important to gather all the necessary materials and tools. Having everything on hand allows for a smoother workflow and ensures you can maintain precision throughout the project.
For materials, high-quality hardwood is ideal, with options such as oak, maple, or walnut being particularly suitable due to their strength and aesthetic appeal. You will also need wood glue to secure the joints, along with wood screws or dowels to reinforce the connections. Sandpaper in various grits, starting with coarse 80-grit, then medium 120-grit, and finishing with fine 220-grit will be essential for smoothing surfaces. A wood finish or protective varnish will help preserve the stool, while felt pads or rubber feet can be added to the legs to protect your floors from scratches.
Essential tools for the project include a measuring tape, combination square, hand saw or miter saw, drill with drill bits, and clamps. A lathe is optional for turning the legs into rounded shapes, but it is not necessary if you prefer straight or slightly tapered legs. A screwdriver and a paintbrush or soft cloth will be needed for assembly and finishing. Working with seasoned wood is recommended to prevent warping or cracking over time.
Step by Step DIY Woodworking Guide
Building a 4 legged stool is an excellent woodworking project that combines creativity, skill, and functionality. This step-by-step guide will show you exactly how to make a sturdy and attractive stool from start to finish.
Step 1: Planning and Designing the Stool
Designing your 4 legged stool is a crucial first step that ensures both functionality and aesthetic appeal. Start by determining the intended use of the stool, which will guide your choices for height and seat shape. For instance, a short stool intended for low seating or as a footstool may be between 16 and 18 inches in height. Counter stools, designed for kitchen counters, are typically 24 to 26 inches tall, whereas bar stools for high tables or bars can be 28 to 30 inches in height.
Sketching your design on paper helps visualize the final product. Include details such as the seat shape round, square, or slightly oval, the leg angle, and any decorative elements. A slight splay of five to ten degrees for the legs enhances stability and adds visual interest. The seat thickness should be at least one inch to ensure the stool can support weight without bending or cracking. Thoughtful planning at this stage reduces errors during cutting and assembly, saving both time and materials.
Step 2: Cutting and Shaping the Components
Cutting the individual components requires precision to ensure the final stool is stable and visually balanced. Begin by cutting the seat to your desired shape and size, typically around 12 to 14 inches wide for a standard stool. The legs should be identical in length and shape to maintain uniformity, whether you are cutting straight legs or slightly tapered ones. If you choose to add braces for extra support, cut them to fit snugly between the legs without interfering with the overall design.
For those who own a lathe, shaping the legs into rounded or tapered forms can add an element of craftsmanship and visual appeal. Beginners may opt for simple square or rectangular legs with slightly rounded edges. After cutting, all components should be sanded lightly to remove rough surfaces and splinters, which ensures a smoother finish and safer handling during assembly. Proper sanding also helps the wood absorb finishes more evenly, enhancing both the look and durability of the stool.
Step 3: Sanding and Smoothing the Wood
Sanding is a critical step in achieving a professional finish. Start with coarse-grit sandpaper to remove saw marks, then progress to medium and fine grits for a smooth, polished surface. Pay attention to rounding the seat edges slightly to provide comfort while seated, and smooth the ends of the legs to prevent scratches on flooring.
Take time to test fit the components during sanding to ensure that the legs and braces fit correctly. Any adjustments should be made before applying glue, as it is easier to correct misalignments at this stage. Sanding not only improves appearance but also prepares the wood for finishing, ensuring that stains, oils, or varnishes adhere evenly and produce a uniform result.
Step 4: Drilling and Joinery
Proper joinery is the backbone of a strong stool. Begin by drilling angled holes on the underside of the seat for each leg. Apply wood glue to the joints before inserting the legs, and use clamps to hold the assembly in place as the glue dries.
For advanced joinery, consider using dowels or wedged tenons, which create a tighter and more durable bond. Double-check leg placement for balance and make any necessary adjustments before the glue sets. Proper attention to joinery ensures that the stool will withstand daily use and remain stable over time, reflecting the quality of your craftsmanship.
Step 5: Assembling the Stool
Once the joints are prepared, begin assembly by securing the legs to the seat. Position the stool on a flat surface to check for balance, ensuring that no leg is uneven. Adding braces between legs provides additional support, particularly for taller stools. Tighten screws carefully, taking care not to split the wood, and allow the glue to cure completely before attempting to use the stool. Proper assembly ensures a stable structure that can carry weight safely while maintaining an attractive appearance.
Step 6: Finishing and Protecting the Wood
Applying a finish not only enhances the visual appeal but also protects the wood from moisture, dirt, and wear. Choose a finish that suits the style and intended use of your stool. An oil finish can create a warm, natural look, while varnish adds a glossy protective layer. Stains can enrich the wood’s color and highlight its grain, and paint allows for creative expression and modern styling.
Apply the finish in thin, even coats using a brush or soft cloth, allowing each layer to dry completely before applying the next. Lightly sanding between coats can help achieve a smoother surface. Applying finishes in a dust-free environment ensures the surface remains clean and professional.
Step 7: Adding Final Details
Final touches give your stool personality and can enhance its longevity. Felt or rubber pads on the legs protect flooring and reduce noise when moving the stool. Engraving initials, patterns, or decorative edges can add a unique touch that reflects your personal style. Using contrasting wood for certain components can also create visual interest. Light wax polishing is an optional step that produces a subtle matte finish, further highlighting the craftsmanship involved.
Real-World Example and Expert Insight
Professional woodworkers often choose the Windsor-style stool for its timeless design and strong structure. This style typically features a round seat with slightly angled legs for optimal balance. Using a hardwood seat such as walnut paired with ash or maple legs provides both strength and contrast. By ensuring the legs are evenly angled and securely attached, the stool can support significant weight while maintaining a stable and comfortable seating surface.
According to Wikipedia’s furniture design section, attention to proportion, material selection, and joinery techniques are key factors in creating durable and attractive furniture. Applying these principles ensures your handmade stool meets both functional and aesthetic standards.
Maintenance and Care
Regular maintenance extends the life of your stool. Wipe the stool with a soft cloth to remove dust and debris, avoiding harsh cleaners that can damage the finish. Periodically reapply oil or wax to maintain the wood’s natural luster. Protect the stool from prolonged exposure to direct sunlight and moisture, as these conditions can cause warping or fading. Tighten joints and screws as needed to maintain stability. With proper care, your handmade stool can remain a reliable and attractive piece for years.
Common Mistakes to Avoid
Common mistakes in stool construction include uneven leg lengths, which can cause wobbling. Measuring twice before cutting is essential to avoid this issue. Skipping sanding may result in rough surfaces and uneven finishes, while excessive glue can leave unsightly marks on the wood. Rushing the drying process can weaken joints, compromising the stability of the stool. By carefully following each step, you can avoid these pitfalls and produce a high-quality, durable stool.
Safety Tips for Woodworkers
Safety is paramount in any woodworking project. Always wear safety goggles and gloves to protect your eyes and hands. Use clamps to secure components before cutting, drilling, or sanding. Keep tools sharp and in good condition to prevent accidents, and ensure your workspace is well-lit and ventilated. Following these precautions allows you to focus on craftsmanship while minimizing the risk of injury.
Conclusion
Creating a 4 legged stool is a rewarding and educational woodworking project. From selecting high-quality hardwood to carefully sanding and assembling the components, each step contributes to a durable and visually appealing final product. This project provides hands-on experience with essential woodworking techniques, enhancing your skills while producing a practical piece of furniture.
With thoughtful planning, precise execution, and proper maintenance, a handmade stool can serve as a reliable and attractive addition to any space for many years. By applying these steps and principles, woodworkers can confidently craft a stool that reflects both their creativity and expertise.
FAQs
1. What is the best type of wood for a stool?
Hardwoods such as oak, maple, or ash are recommended due to their strength and durability, which ensures the stool can withstand daily use.
2. Can I make a stool without power tools?
Yes, hand tools such as saws, chisels, and hammers are sufficient for creating a sturdy stool, although the process may require more time and careful effort.
3. How can I make the stool more stable?
Slightly angling the legs outward and ensuring they are of equal length improves stability. Adding braces can further reinforce the structure.
4. Should I use glue or screws for assembly?
Using both glue and screws provides optimal strength. Glue secures the joints while screws reinforce the mechanical connection.
5. What height should I choose for my space?
Measure the height of your table, counter, or bar, and subtract approximately 10 inches for comfortable seating. This ensures ergonomic use.


