Key Takeaways
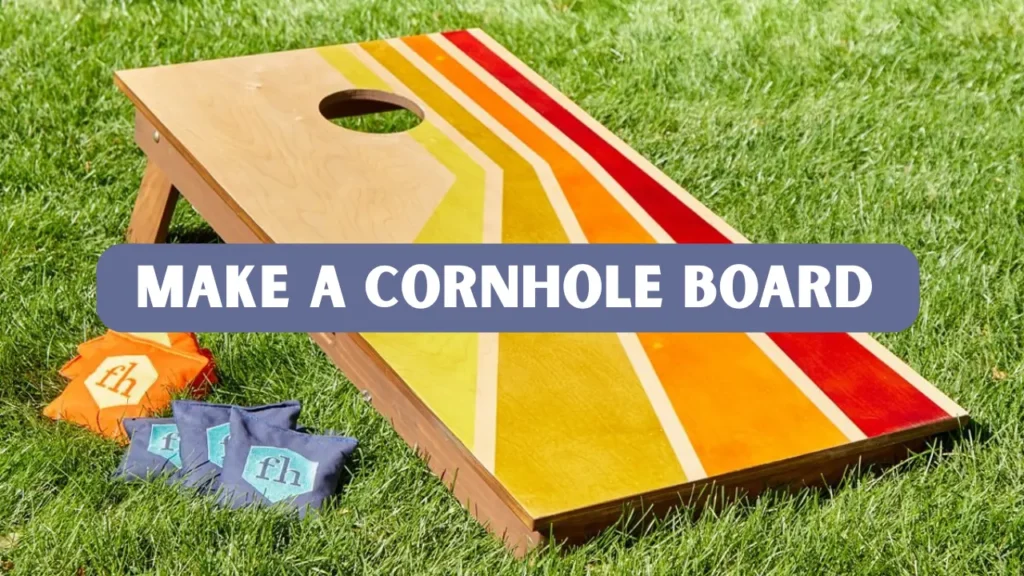
- Learn how to make a cornhole board from scratch with clear instructions.
- Understand the required materials, tools, and official dimensions.
- Discover tips for finishing, customization, and maintenance.
- Suitable for beginners and experienced woodworkers.
- Gain ideas to create a durable and attractive backyard game set.
Why Make a Cornhole Board Yourself
Building your own cornhole board is an enjoyable and rewarding DIY project. It allows you to make a cornhole board that reflects your personal style, colors, and logos. A handmade board provides a sense of accomplishment that store-bought boards cannot match. Beyond personal satisfaction, crafting a board is cost-effective and a great way to enhance woodworking skills.
Whether you want a board for family fun, tailgating, or gifting, building it yourself ensures it is unique and tailored to your needs. Creating a board can also become a fun social project. Many woodworkers enjoy involving friends or family members in the process. This makes it a shared experience that goes beyond the game itself.
Materials and Tools Needed
Materials
- Plywood: 1/2 inch or 3/4 inch thick, 48 inches by 24 inches for the board surface
- 2×4 Lumber: For frame and legs
- Wood Screws: 1 1/4 inch and 2 1/2 inch sizes
- Wood Glue: For extra durability
- Sandpaper: 120 and 220 grit
- Paint or Stain: For finishing the board
- Sealant: To protect against weather and wear
Tools
- Circular saw or table saw for cutting
- Drill with screwdriver bits
- Measuring tape and square for accuracy
- Clamps to hold pieces in place
- Sanding block or power sander
- Safety gear: goggles, gloves, and dust mask
Pro Tip: Using pre-cut plywood and 2x4s can save time and reduce mistakes during cutting.
Official Cornhole Board Dimensions
To ensure proper gameplay, follow these official guidelines:
- Board Size: 48 inches long and 24 inches wide
- Hole Size: 6 inches in diameter
- Hole Placement: Centered 9 inches from the top edge and 12 inches from each side
- Board Thickness: 3/4 inch recommended
- Leg Height: 12 inches at the rear and 3–4 inches at the front to create a slope
Following these specifications guarantees a board that feels familiar and fair for all players. Proper measurement is essential for gameplay and balance.
Step by Step Guide to Making a Cornhole Board
1. Cutting the Wood
- Cut the plywood to 48 by 24 inches for the board surface
- Cut two 2×4 pieces to 48 inches for the sides of the frame and two pieces to 21 inches for the front and back
- Cut four pieces of 2×4 to 12 inches for the legs
Accurate cutting is essential. Take the time to double-check all measurements to avoid errors later in assembly.
2. Assembling the Frame
- Arrange the 2×4 pieces into a rectangle
- Apply wood glue to the corners and secure with screws
- Place the plywood on top of the frame and attach with screws
- Ensure the plywood edges are flush with the frame for a smooth surface
3. Drilling the Hole
- Measure and mark the center point 9 inches from the top edge and 12 inches from each side
- Use a 6-inch hole saw or jigsaw to cut the hole
- Sand the edges of the hole to remove any rough spots
4. Installing the Legs
- For foldable legs, attach hinges to the top of each leg and the underside of the board
- For fixed legs, attach directly to the rear of the frame
- Test stability and ensure the board rests at a proper angle for gameplay
5. Sanding and Finishing
- Sand the entire board with 120 grit sandpaper, then finish with 220 grit
- Wipe away dust to ensure a clean painting surface
- Apply paint or stain as desired, followed by a clear sealant
- Optional: Add custom designs, decals, or logos for a personal touch
Tips for a Professional Finish
- Measure twice and cut once to avoid mistakes. Careful measuring ensures accuracy and prevents wasted materials.
- Use clamps to stabilize pieces during assembly. This keeps the frame secure and makes screwing or gluing easier.
- Allow paint and sealant to fully dry before use. Proper drying prevents smudges and ensures a smooth, durable finish.
- For outdoor durability, consider exterior-grade plywood and weatherproof sealant. These materials protect the board from moisture, sunlight, and wear over time.
- Add a non-slip coating to the bottom of the legs to prevent movement during gameplay. This improves safety and keeps the board stable while playing.
A well-finished board not only looks better but lasts longer. Taking the time to properly sand, paint, and seal the board ensures a smooth playing surface and protects it from damage.
Customization Ideas for Your Cornhole Board
- Choose bold or contrasting colors to enhance visibility. Bright colors make the board easier to see during play and add a visually appealing look.
- Add personalized logos, team names, or graphics using stencils or vinyl. Custom designs give your board a unique identity and make it stand out at events.
- Paint fun patterns or themes for parties, holidays, or sports teams. Themed boards create excitement and make games more festive and enjoyable.
- Consider LED lights around the hole for evening play. Adding lights allows for nighttime games and adds a creative, modern touch to your board.
- For portability, make foldable legs to store and transport easily. Foldable boards are convenient for travel and save space when storing.
Customizations make your cornhole board truly unique and can be a fun way to showcase creativity. Many enthusiasts enjoy designing boards that reflect their hobbies, favorite sports teams, or family names.
Maintenance and Care Tips
- Storage: Store the board in a dry location when not in use to prevent moisture damage. Keeping it off the ground or under a cover will help maintain its shape and finish.
- Cleaning: Wipe down the surface with a damp cloth to remove dirt and debris. Avoid using harsh chemicals that could damage the wood or paint.
- Repairs: Check for loose screws or damaged wood periodically and fix any issues promptly. Addressing small problems early prevents larger, more costly repairs later
- Weather Protection: Apply sealant regularly if the board is used outdoors. This helps protect it from rain, sun, and other elements, extending its lifespan.
Proper care ensures your board remains functional and visually appealing for years. Regular maintenance also prevents warping or other damage caused by moisture or heavy use.
Case Study: Turning a Backyard into a Fun Cornhole Spot
In 2023, the Johnson family in Texas decided to enhance their backyard entertainment by building their own cornhole boards. They chose quality plywood and 2×4 lumber to make a cornhole board that matched their family style. The boards were customized with their family name and favorite sports team colors. They involved their two teenagers in sanding, painting, and assembling, making it a true family project.
The finished boards became the centerpiece of backyard gatherings and quickly impressed friends and neighbors. They held up well under frequent outdoor use and heavy gameplay. The family reported that the project strengthened family bonding while teaching basic woodworking skills. They now host weekly game nights, proving a DIY cornhole board is both practical and socially rewarding.
Why Building Your Own Board is Worth It
- Cost Savings: Materials are affordable compared to purchasing pre-made boards
- Skill Improvement: Builds woodworking skills through hands-on experience
- Unique Design: Fully customizable for personal or gift purposes
- Entertainment: Provides a fun activity for family, friends, and social events
This project is not just about the board itself; it is an opportunity to practice precision, planning, and creativity. Many enthusiasts find that the process of building the board is as enjoyable as playing the game.
Conclusion
Creating your own cornhole board is a fun, educational, and rewarding project. By choosing materials, painting, and customizing, you can make a cornhole board that reflects your style and creativity. Each step enhances your woodworking skills and allows for a sense of personal satisfaction. The process is enjoyable and provides a unique, hands-on experience that store-bought boards cannot match.
Following these instructions ensures your board meets official specifications and is durable for outdoor use. A well-built board guarantees smooth gameplay and hours of entertainment with family and friends. Proper finishing and maintenance will extend its lifespan and keep it looking great. Ultimately, building your own board combines skill, enjoyment, and long-lasting fun.
FAQs
What is the regulation size of a cornhole board?
The standard board is 48 inches long by 24 inches wide, with a 6-inch hole 9 inches from the top edge.
Can beginners make a cornhole board?
Yes, this DIY project is suitable for beginners. Accurate measurement, careful cutting, and following step-by-step instructions will result in a successful board.
How long does it take to build a cornhole board?
A beginner may take 4–6 hours, including cutting, assembly, sanding, painting, and finishing.
How do I make the board weather-resistant?
Use exterior-grade plywood and sealant. Store indoors or under a covered area when not in use to protect it from rain or extreme sun.
Can I add additional features like lighting or handles?
Yes. Some DIY builders add LED lights around the hole or install handles for easier portability.


