Key Takeaways
- Pocket hole joinery is a fast, reliable method for creating strong, hidden joints suitable for DIY furniture, face frames, and repairs.
- A pocket hole jig, correct screw length, and proper clamping are the three most important factors for success.
- Use pocket holes where speed and simplicity matter; choose mortise and tenon or dowels when extra strength or fine cabinetry appearance is required.
- Common mistakes include wrong screw length, holes too close to the edge, and poor clamping.
- Follow the step-by-step tutorial, checklist, and FAQ to build strong, neat joints for woodworking projects.
Why This Joinery Technique Matters
Pocket hole joinery is one of the most beginner-friendly woodworking methods you can use. It helps create strong, reliable joints without needing complex measurements or costly tools. Whether you’re building a table, a shelf, or repairing a chair, this method works perfectly. It allows woodworkers to achieve professional results quickly and efficiently. It is a versatile technique that can be applied to a wide range of projects.
This technique delivers a clean, polished appearance while keeping the process simple and manageable. With just a drill and a jig, anyone can create precise and durable joints. It is suitable for both small repairs and full furniture projects. Mastering this method makes woodworking faster, easier, and more enjoyable. It also builds confidence for tackling more advanced projects over time.
What Is Pocket Hole Joinery?
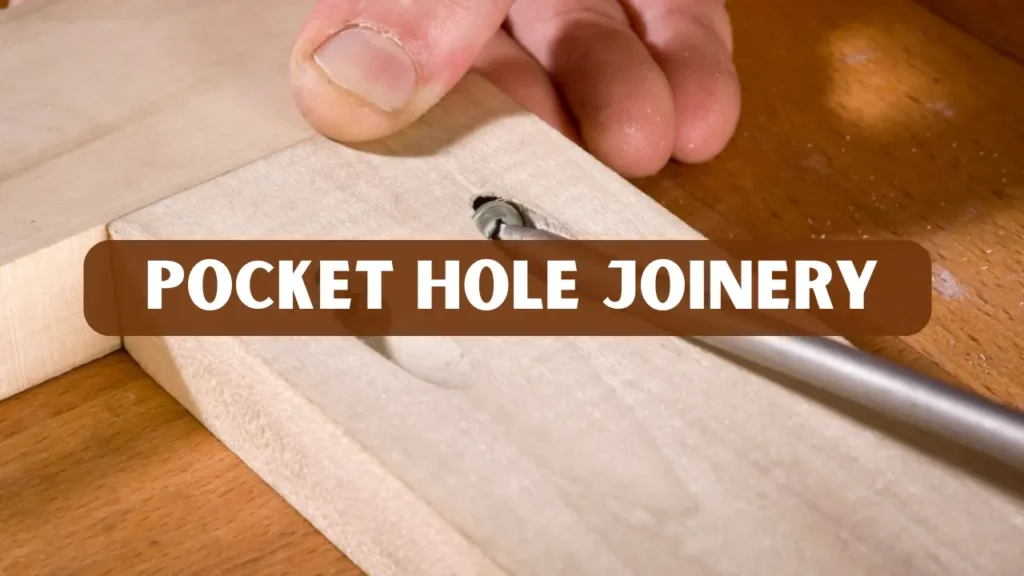
Pocket hole joinery involves drilling an angled hole into one piece of wood so that a screw can enter at an angle and pull two boards tightly together. The screw head sits inside the pocket and can either be hidden with wooden plugs or positioned on the inside of a project where it won’t be visible. This simple technique creates strong, precise joints with minimal effort, making it a favorite among both beginners and professionals.
Why It Is Popular
- Fast and easy to learn: Pocket Hole Joinery doesn’t require advanced skills or special training. With just a jig, drill, and screws, even beginners can start building sturdy projects right away.
- Requires few tools: Unlike traditional joinery methods that need chisels or clamps, this method relies on minimal equipment. A basic pocket hole jig and a power drill are usually enough for most projects.
- Provides clean, hidden joints: The angled holes are strategically placed so that screws remain hidden from view. This gives your furniture and frames a neat, professional appearance without visible hardware.
- Works well for furniture and frame assembly: Pocket holes are ideal for connecting parts like table aprons, cabinet frames, and drawer boxes. They ensure tight, square joints that hold up under daily use and add lasting durability.
Tools and Supplies You Need
Here is everything you should have before you start working:
- Pocket hole jig (basic or adjustable)
- Pocket hole screws (different lengths for wood thickness)
- Drill or driver with clutch control
- Clamps to hold boards in position
- Drill bit with stop collar
- Wood glue (optional)
- Wood plugs or fillers (for visible joints)
- Measuring tools like square, tape measure, and pencil
Step by Step Guide to Building a Joint
Follow these simple steps to create strong and reliable pocket-hole joints. Each stage of the process ensures proper alignment, tight connections, and a smooth finish that enhances the overall appearance. With the right technique and attention to detail, your woodworking projects will look professional and remain durable for years.
Step 1: Plan and mark
Identify which board will receive the pocket holes. Mark screw locations at least 3/4 inch from the ends and space them about 6 to 8 inches apart.
Step 2: Set up the jig
Adjust the jig for the material thickness and attach the drill bit with its stop collar. Clamp the jig tightly to the board so it cannot move while drilling.
Step 3: Drill the pocket holes
Drill with a steady motion until the stop collar contacts the jig. Remove the board and clear wood chips from the holes and jig.
Step 4: Dry-fit the pieces
Fit the pieces together without screws to check alignment and fit. Make any minor adjustments before final assembly.
Step 5: Clamp and drive screws
Apply glue if desired, then clamp the boards firmly. Drive screws of the correct length until the joint is snug but do not over-tighten.
Step 6: Finish the joint
Fill visible pockets with wood plugs or filler, then sand the surface until it’s smooth. Apply your preferred finish to blend the joint seamlessly with the rest of the project.
Pocket Hole Screw Length Guide
Selecting the right screw is critical. Use this quick reference chart:
- 1/2 inch wood thickness: 5/8 inch screw
- 3/4 inch wood thickness: 1 inch screw
- 1 1/2 inch wood thickness: 1 1/4 inch or 1 1/2 inch screw
Check the screw length guide provided with your jig for best accuracy.
Best Practices and Mistakes to Avoid
These practical habits help ensure strong, long-lasting joints:
- Always clamp pieces before driving screws
- Keep pocket holes the correct distance from the edge
- Avoid using screws too long or too short
- Space pocket holes evenly to distribute force
- Test-fit before final assembly
Common mistakes
- Using screws not designed for pocket holes
- Forgetting the stop collar, leading to holes drilled too deep
- Ignoring test fits and alignment before fastening
5 Simple Pocket Hole Projects
You can use pocket holes in almost any woodworking project. Try these easy ideas:
- Floating Shelf:
Use pocket holes underneath the shelf to secure a hidden mounting cleat. This keeps the hardware invisible, giving your shelf a clean and modern appearance that blends perfectly with any wall design.
- Coffee Table Apron:
Join the apron boards to the table legs using pocket holes and fill them with wooden plugs. This method ensures a strong connection while keeping the table’s exterior smooth and polished.
- Face-Frame Cabinet:
Build square, sturdy frames quickly using pocket holes before attaching the panels. This approach guarantees proper alignment and makes your cabinet structure solid and professional-looking.
- Picture Frame:
Secure mitered corners with pocket holes on the back for added strength. It prevents gaps, keeping the corners tight and the frame durable over time.
- Workbench Frame:
Assemble the base and support using pocket holes to create a solid and balanced foundation. This method enhances stability and allows for easy adjustments during assembly.
When to Use Pocket Holes and When Not To
Pocket holes are great for many applications but not for everything.
Use pocket holes when:
- Pocket holes are ideal when fast assembly is needed, allowing you to complete projects quickly without complex joinery.
- This method works best when the joint will not bear excessive load, providing sufficient strength for typical furniture and frames.
- Pocket holes are perfect when the holes can be hidden from view, keeping the project looking clean and professional.
Avoid pocket holes when:
- Pocket holes may not provide enough strength for extremely heavy or load-bearing structures. Consider alternative joinery methods for maximum durability.
- If the project demands a seamless appearance, pocket holes may leave visible plugs or filler. Other joinery techniques like mortise and tenon are better suited.
- Screws in end grain often fail to grip properly, reducing joint strength. Avoid using pocket holes in these areas to prevent weak connections.
Real-World Example
During a quick workshop repair, a wobbly bench frame was easily fixed using angled holes and 1¼-inch screws. The entire process took less than an hour and required no disassembly, saving both time and effort. Once tightened, the joints held firmly, restoring the bench’s full stability and strength. This simple repair demonstrated just how practical and effective this joinery method can be for quick, on-the-spot fixes.
Conclusion
Pocket hole joinery is a simple and effective method for creating strong woodworking joints. By using the correct jig setup and screw length, you can assemble furniture, shelves, or repairs with ease. This technique offers clean, hidden joints without the need for complex tools or skills. It’s perfect for both beginners and experienced woodworkers aiming for neat, professional results.
FAQs
Are pocket holes strong enough for furniture?
Yes. When used with proper screws, spacing, and clamping, pocket holes provide sufficient strength for most furniture pieces. For extra durability, add glue to the joints.
Can pocket holes be used on hardwoods?
Yes, but use slower drill speed and test on scrap wood first. Hardwoods require sharp bits and the right screw thread.
Should I add glue to pocket hole joints?
Glue is optional but increases strength and prevents joint movement over time. Always wipe off excess before assembly.
How can I hide pocket holes?
Use matching wood plugs or filler, or place the pocket holes on hidden sides or undersides of your project.