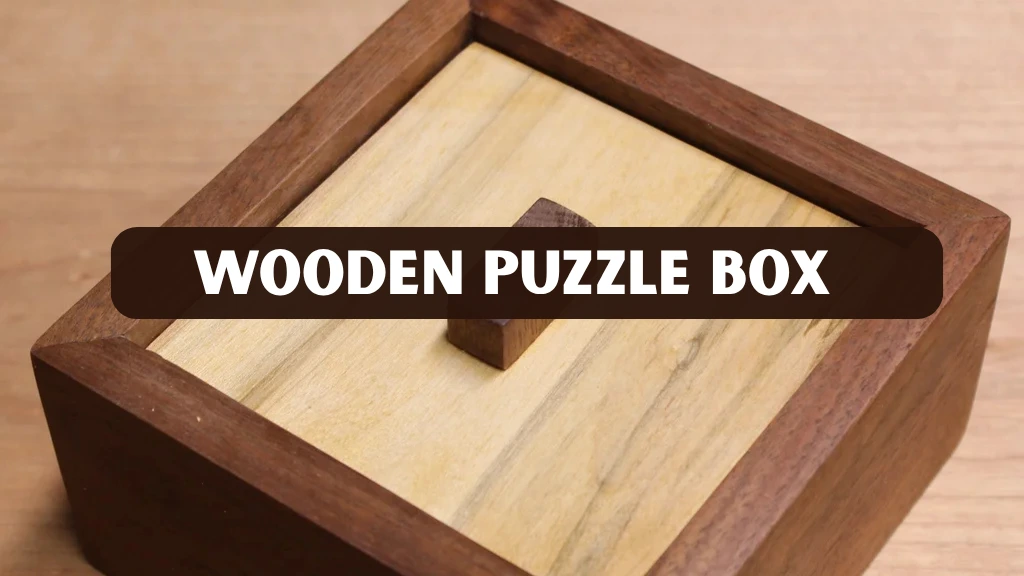
Creating a wooden puzzle box is a highly rewarding woodworking project that combines creativity, precision, and problem-solving skills. Whether you are a seasoned woodworker or just beginning your journey, crafting a puzzle box provides a unique opportunity to showcase your abilities. Beyond the functional and decorative aspects, a puzzle box challenges you to think critically about design, measurements, and mechanisms. It is a project that can be both relaxing and intellectually stimulating, making it perfect for hobbyists and skilled artisans alike.
By taking the time to carefully plan and execute your wooden puzzle, you not only practice essential woodworking skills but also create a piece that can be treasured for years. The combination of technique, patience, and creativity transforms a simple block of wood into an elegant and intriguing finished product. This guide will take you through each step of the process, from selecting the right materials to finishing touches that enhance the box’s beauty and durability.
Why Build a Wooden Puzzle Box
Building a wooden puzzle box offers multiple benefits beyond just the satisfaction of creating a physical object. Working on such a project helps develop fine motor skills, patience, and precision in measuring and cutting. It allows woodworkers to experiment with different joinery techniques and understand how moving components interact. A well-crafted puzzle box can also serve as a decorative item, a keepsake, or a unique gift for friends and family. By engaging with these challenges, you improve your woodworking expertise and develop the ability to tackle more complex projects in the future.
Puzzle boxes are particularly interesting because they combine craftsmanship with ingenuity. A simple box might have a sliding lid, while more advanced designs can feature multiple interlocking compartments and hidden layers. Creating such mechanisms encourages problem-solving and teaches valuable lessons in design thinking. The satisfaction of seeing your puzzle box function as intended is one of the most rewarding aspects of this project, inspiring woodworkers to continue exploring new techniques and designs.
Materials and Tools Needed
Choosing the right materials is crucial when creating a wooden puzzle box. High-quality hardwoods such as oak, maple, or walnut are ideal for durability and a smooth finish. Softwoods like pine or poplar may be used for simpler designs but can be less durable. Essential tools include a table saw, chisels, router, clamps, sandpaper, and wood glue. A sanding block or electric sander helps achieve smooth surfaces, while a finishing brush or cloth is necessary for applying stain or varnish. Optional items such as woodworking jigs or templates can improve accuracy when crafting puzzle mechanisms.
Selecting the correct wood not only affects the appearance but also the functionality of the puzzle box. Hardwoods allow for precise cuts and smooth sliding parts, making mechanisms work seamlessly. Paying attention to wood grain and color contrast can elevate the box’s aesthetic appeal, allowing for creative designs that are both visually appealing and functional. Understanding the properties of your chosen wood is an important step in planning the project effectively.
Understanding Puzzle Box Mechanisms
A wooden puzzle box can feature various types of mechanisms depending on the complexity desired. Sliding lids are among the simplest designs, allowing easy access to the box while maintaining a secret compartment feel. More intricate boxes may include interlocking pieces, hidden drawers, or multi-step sliding components. Understanding these mechanisms ensures the box functions smoothly and adds a layer of challenge for users. Beginners should start with a single sliding lid or a simple hidden compartment before attempting more advanced interlocking designs.
Mechanisms are the heart of a puzzle box. Each moving piece must be carefully measured and cut to fit precisely, ensuring smooth operation. Planning the layout in advance prevents errors and ensures that all components work as intended. Experimenting with mock-ups or templates before final assembly can save time and reduce mistakes, providing a smoother and more enjoyable woodworking experience.
Step-by-Step Instructions
Preparing the Wood
Start by measuring and cutting all wood pieces to the required dimensions. Precision is crucial because even minor deviations can interfere with the puzzle’s functionality. Sand all surfaces and edges thoroughly to ensure smooth operation of sliding parts. Take your time at this stage, as careful preparation simplifies assembly and helps prevent mistakes later.
Assembling the Box Base
Use appropriate joinery techniques to assemble the base. Dovetail joints, tongue-and-groove connections, or butt joints with glue and clamps can create a solid structure. Applying glue carefully avoids blocking moving components, and clamping ensures alignment and stability. Ensuring that the box base is square and stable sets the foundation for the puzzle mechanism to operate correctly.
Creating the Puzzle Mechanism
Design the moving parts with careful attention to measurement and fit. Simple boxes may use a sliding lid, while more complex designs can incorporate hidden compartments or interlocking layers. Test each component before final assembly to ensure smooth operation. Accurate measurements and repeated testing are essential for functional puzzle boxes.
Sanding and Finishing
After assembly, sand the box thoroughly, paying attention to edges and moving parts. Smooth surfaces prevent friction and allow sliding mechanisms to function efficiently. Apply a finish such as stain, varnish, or oil to enhance durability and appearance. Decorative touches like inlays, carvings, or contrasting wood types can elevate the aesthetic appeal, creating a piece that is both functional and visually striking.
Customization Ideas
Customizing your wood puzzle box allows you to express your personal style and creativity. Combining different wood types creates striking contrasts, while carved patterns or initials add a personal touch. Adjusting the puzzle’s complexity ensures that the box can challenge beginners or more advanced woodworkers. Additional features such as a weighted base can improve stability, and non-slip pads can protect surfaces while keeping the box secure. These enhancements make your puzzle box both functional and visually appealing.
Incorporating unique design elements can transform a simple puzzle box into a work of art. Creative choices like using exotic woods or adding decorative metal accents can make your project stand out. The combination of design, functionality, and craftsmanship ensures that the box becomes a conversation piece and a lasting example of your woodworking skill.
Common Mistakes to Avoid
Several common mistakes can compromise the quality of a wood puzzle box. Misaligned pieces may prevent the mechanism from functioning properly, and excessive glue can block movement. Skipping sanding or finishing steps can result in rough edges or a less polished appearance. Planning carefully, testing components, and double-checking measurements at each stage helps avoid these pitfalls.
By being mindful of these common issues, woodworkers can ensure their puzzle box is both functional and aesthetically pleasing. Taking the time to address potential problems during the building process enhances the overall quality of the final product.
Real-World Example
A woodworker creating a two-layer sliding puzzle box selected maple for the base and walnut for sliding pieces to create a visually appealing contrast. By carefully measuring each component and testing sliding mechanisms before final assembly, they avoided common issues such as sticking or misalignment. The finished product was both functional and decorative, earning praise from peers in the woodworking community. Sharing such experiences encourages other woodworkers to explore creative designs and challenge themselves with more advanced projects.
This case study highlights the importance of preparation, patience, and attention to detail in woodworking. By documenting each step and addressing challenges proactively, woodworkers can produce high-quality puzzle boxes that demonstrate both skill and creativity.
Conclusion
Crafting a wooden puzzle box is a fulfilling woodworking project that combines creativity, skill, and problem-solving. By carefully selecting materials, understanding mechanisms, and following precise step-by-step instructions, you can create a functional and visually appealing piece. Puzzle boxes are not only great for practicing woodworking techniques but also make unique gifts or decorative items. We encourage you to experiment with your own designs, explore new puzzle mechanisms, and share your completed projects with the woodworking community.
This project emphasizes the value of patience, precision, and creativity, ensuring that the final product reflects both craftsmanship and innovation. Whether for personal satisfaction or as a thoughtful gift, your completed puzzle box will stand as a testament to your skill and dedication.
FAQs
What type of wood is best for a puzzle box?
Hardwoods like oak, maple, and walnut are preferred due to their durability and smooth operation of sliding parts.
Do I need advanced woodworking skills?
Beginners can start with simple sliding lid designs, while advanced woodworkers can attempt interlocking or multi-step mechanisms.
Can a puzzle box be made as a gift?
Yes, wood puzzle boxes are ideal personalized gifts for any occasion.
How long does it take to make a puzzle box?
Time depends on complexity. Simple boxes may take 3–8 hours, while advanced designs may take 1–2 days.
Where can I learn more about puzzle box designs?
Resources like Wikipedia on Puzzle Boxes provide historical context and inspiration for design ideas.


