Woodturning is a craft that combines artistry and precision, allowing woodworkers to transform a simple block of wood into a functional and beautiful object. Among the most rewarding projects for both beginners and experienced turners is creating a lidded box. This project requires attention to detail, knowledge of lathe techniques, and patience. In this guide, we will explore everything you need to know about crafting one, from selecting the right materials to finishing your piece, while ensuring your work aligns with professional standards.
Why Create a Lidded Box
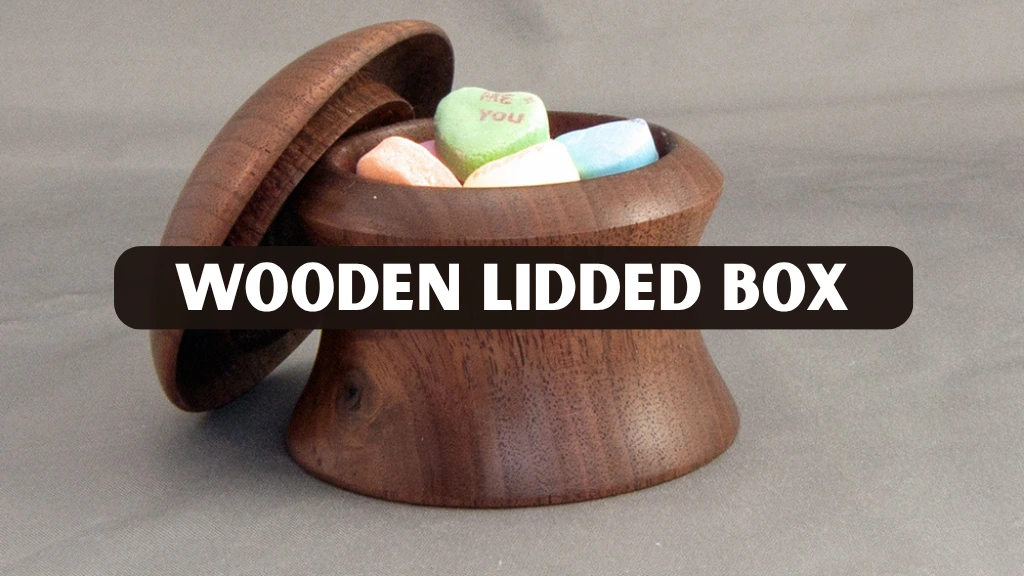
A lidded box is a small wooden container with a removable lid, designed to store items or serve as a decorative piece. These boxes are practical and versatile, often functioning as storage containers, thoughtful gifts, or elegant display items. Crafting one requires precision, particularly when shaping the lid and base to ensure a perfect fit that combines function with aesthetics.
Beyond functionality, the project allows woodworkers to develop essential skills such as hollowing, shaping, sanding, and finishing. It also opens the door for creative expression, letting turners incorporate unique design elements, textures, or contrasting wood species. The process teaches patience, precision, and problem-solving, making it an excellent project for anyone looking to refine their craft and expand their woodworking expertise.
Tools and Materials
Before beginning the project, it is important to gather the right tools and materials to ensure both safety and high-quality results. A wood lathe with adjustable speed control is essential for small projects because it allows turners to maintain precision throughout the process. Basic turning tools such as spindle gouges, parting tools, round nose scrapers, skew chisels, and small bowl gouges are required to accurately shape the base and lid. A four-jaw self-centering chuck is also highly useful, as it securely holds both components during turning.
Equally important is the selection of the wood blank. Hardwoods such as maple, cherry, and walnut are often preferred for their durability and fine grain, though softwoods can be good practice material for beginners. To achieve a smooth surface, sandpaper ranging from 120 to 400 grit is used, followed by finishing oils or waxes to protect the wood and bring out its natural beauty. Precision tools like calipers help ensure the lid and base fit snugly. Finally, safety gear including eye protection, dust masks, and hearing protection should always be worn to reduce risks and make the woodturning process safer and more enjoyable.
Step by Step Guide
Preparing the Wood Blank
The first step in creating a lidded box is selecting a quality wood blank with minimal defects. Mount the blank securely between centers on the lathe. Use a roughing gouge to shape the blank into a cylindrical form, ensuring it is balanced to minimize vibrations while turning. Proper preparation at this stage is essential for achieving an even and accurate final shape.
Shaping the Base
Once the blank is rounded, focus on shaping the base. Carefully define the base’s outer diameter using a parting tool. Hollow the interior using a bowl gouge, making sure to leave sufficient wall thickness for structural integrity. Take your time during this process to maintain even walls, avoid thin spots, and prevent tear-out. Proper attention to detail at this stage sets the foundation for a well-fitting lid.
Crafting the Lid
Select a separate blank for the lid, and mount it on the lathe. Shape the exterior to complement the base, and hollow the interior to create a snug recess that will fit over the base. Pay attention to the lid’s lip, ensuring it is slightly undersized to accommodate natural wood movement and seasonal expansion. Smooth, even hollowing is crucial for achieving a professional look and feel.
Fitting the Lid
Achieving a proper fit between the lid and base is essential for the functionality and aesthetics of the box. Use calipers to measure the inside diameter of the base and the outside diameter of the lid. Make gradual adjustments as needed, testing the lid frequently to ensure a snug but not overly tight fit. A well-fitting lid should slide on and off smoothly without wobbling or sticking.
Final Shaping and Sanding
After the lid fits properly, refine the outer shapes of both the base and lid. Sand all surfaces thoroughly, progressing through finer grits for a polished finish. Pay close attention to the joint area where the lid meets the base, ensuring a seamless connection. Consistent sanding and attention to detail elevate the overall appearance and feel of the box.
Applying Finish
Applying a protective finish not only enhances the wood’s natural beauty but also increases the durability of the lidded box. Oils such as tung oil or Danish oil, or a combination of wax and oil, work well for finishing. Apply the finish according to the manufacturer’s instructions, allowing it to cure fully before handling the box. This step provides a smooth, professional, and long-lasting finish.
Tips for Success
Selecting stable wood is essential to prevent cracking or warping, especially in areas that will form the lid and base. Maintaining sharp tools ensures clean cuts, reduces tear-out, and allows for smoother surfaces. Working slowly and precisely minimizes errors, particularly when hollowing the interior of the box or fitting the lid. Beginners should practice on scrap wood before attempting the final project, which helps build confidence and skill. Frequent checking of the lid fit is crucial to avoid over-hollowing and ensure a smooth, snug fit. Following proper safety protocols, including eye protection, dust masks, and maintaining steady hand placement, is important to prevent accidents.
Advanced Techniques
Once you are comfortable with the basic process, advanced techniques can be incorporated to enhance your projects. Adding decorative features such as beads, grooves, or textured patterns on the lid or base increases visual appeal. Combining different wood species for multi-wood boxes creates striking contrasts and elevates the artistry of the piece. Reverse mounting the box using a chuck allows access to the bottom or top surfaces of the lid for additional shaping and finishing. Mastery of these advanced techniques demonstrates skill and allows for unique, custom designs.
Case Study Crafting a Maple Lid Box
John Mitchell, a professional woodturner with over 15 years of experience, shared his process of crafting a custom maple box for a client. He emphasized precision at every step, beginning with the careful selection of a straight-grained maple blank and continuing through detailed measurements of the lid and base using calipers. Once the blank was roughed into a cylinder, he hollowed the interior with steady control, ensuring the wall thickness remained consistent throughout.
Using a spindle gouge and a round nose scraper, John shaped the lid with a subtle decorative lip that created both visual interest and a perfect fit. After progressing through multiple stages of sanding, he applied a hand-rubbed finish of tung oil and beeswax, which enhanced the natural beauty of the maple and provided a protective surface. The final result was a smooth, durable box with a snug-fitting lid and a warm, inviting tone. John explained that patience, accurate measurement, and attention to detail were the keys to success, showing how proper planning and craftsmanship lead to professional-quality results.
Conclusion
Creating a lidded box is one of the most rewarding woodworking projects because it combines creativity, precision, and craftsmanship. With the right materials and careful step-by-step techniques, woodworkers can produce pieces that are both practical and visually appealing. From accurate hollowing to snug lid fitting, every stage of the process teaches valuable skills. Proper sanding, finishing, and safety measures further ensure durability and professional results that stand the test of time.
For those looking to elevate their craft, experimenting with decorative accents, texturing, or blending multiple wood species adds uniqueness and character to each box. Real-world examples, such as John Mitchell’s maple project, highlight the importance of planning, measurement, and patience. By practicing regularly and refining techniques, woodturners gain confidence and progress from simple designs to professional-quality creations. Each project becomes an opportunity to grow as both a craftsman and an artist.
Frequently Asked Questions
What wood is best for turning a lid box?
Hardwoods such as maple, cherry, and walnut are ideal due to their stability and fine grain. Softwoods like pine are suitable for practice pieces but may require extra care.
Can beginners make a wooden box with a lid?
Yes, beginners can create simple boxes and practice hollowing, shaping, and fitting the lid gradually. Starting small allows for skill development.
How do I ensure the lid fits properly?
Use calipers to measure both the base and lid. Hollow the lid gradually and test frequently, making adjustments until the fit is snug but not tight.
Which finishes are most suitable for a wooden box with lid
Natural oils such as tung oil or Danish oil enhance the wood grain while protecting the surface. Wax can also provide a polished, professional finish.
How long does it take to turn a lid box?
Completion time depends on complexity and skill. Beginners may take several hours, while experienced turners can finish small boxes in under two hours.


